
Users may wish to send customized communication to applicants when confirming a Calendar event.
This can be done by creating a Communication Template that will be used for Calendar Event Confirmation.
To enable this feature, users must create and activate a Communication Template in the Communication Templates area.
Important: When a Communication Template is designated as the Calendar Event Confirmation message, all applicants who receive an event confirmation will receive this message. If no template is selected, a default system message will be sent.
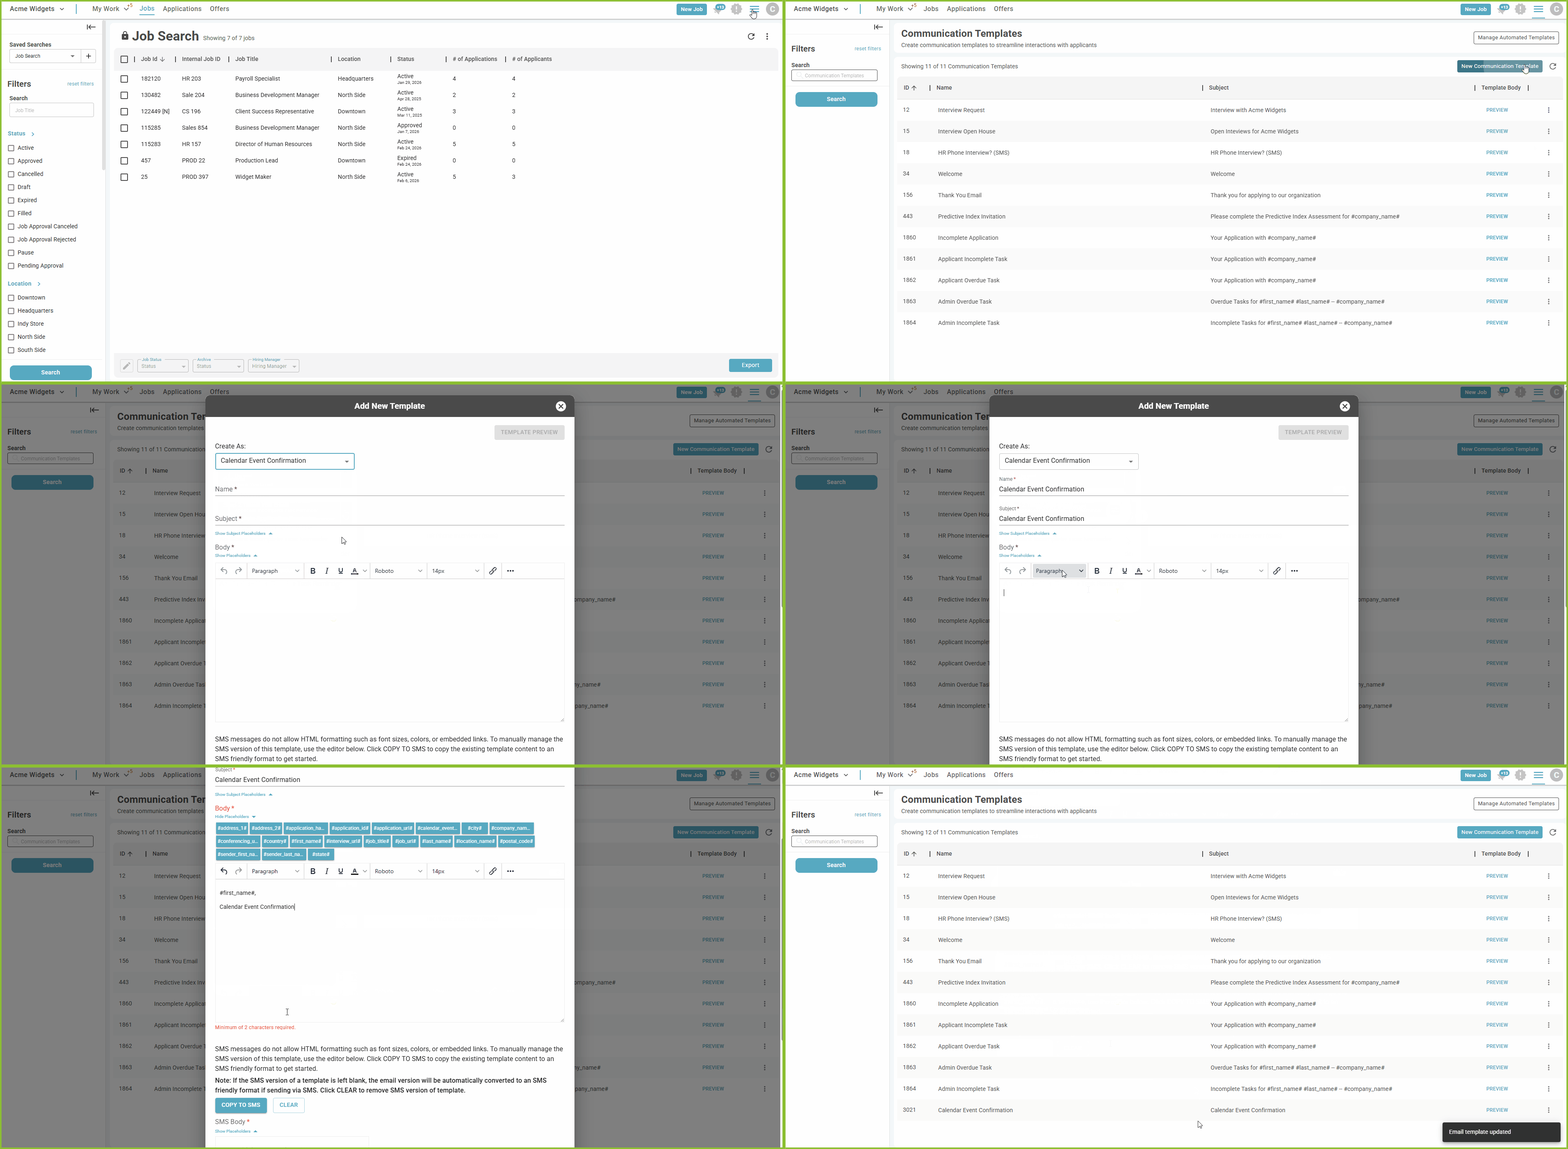
Create a Calendar Event Confirmation Communication Template
-
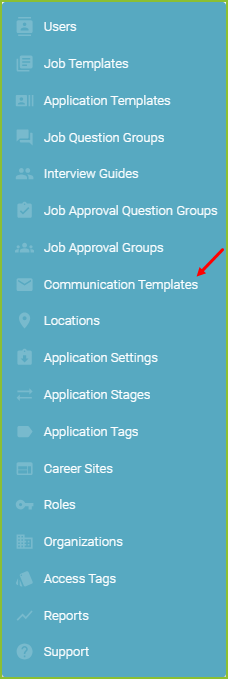
Navigate to the Settings area.

-
Click Communication Templates.
-
Select New Communication Template.

-
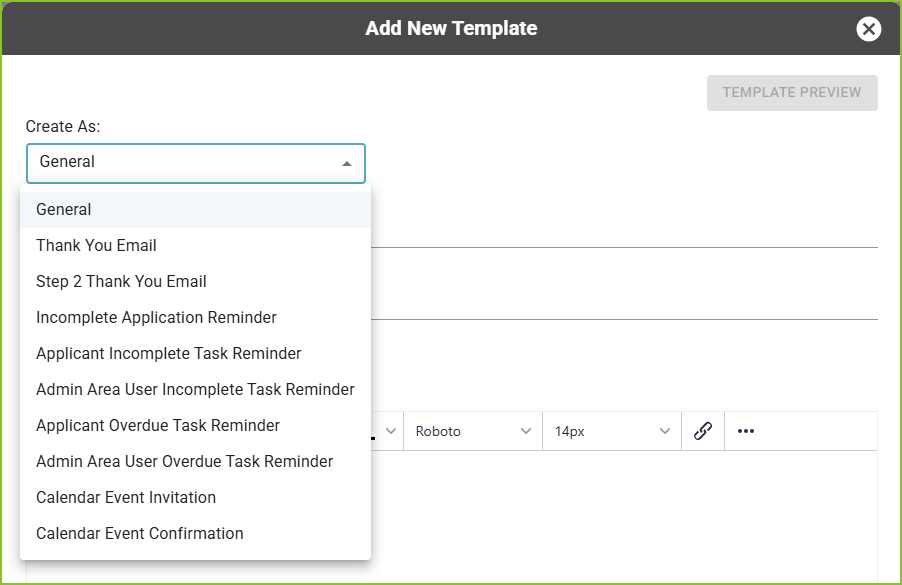
Select Calendar Event Confirmation in the Create As menu.
-
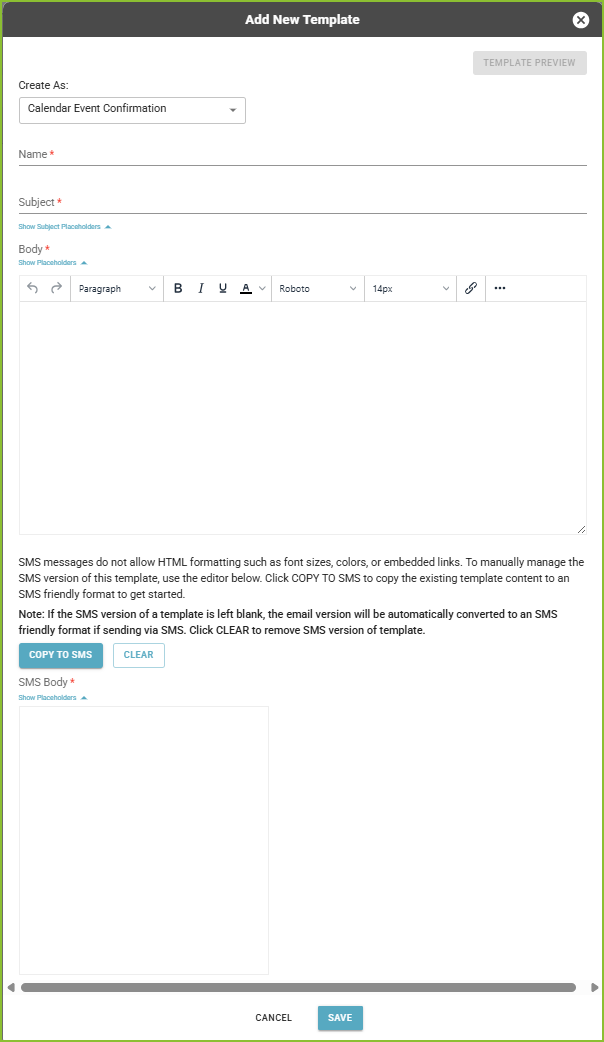
Complete the form by entering:
-
Communication Template Name (for internal use)
-
Email Subject
-
Message Body
-
Use the available Placeholders to personalize the email using applicant data. Click a placeholder to insert it into the subject line or message body.
-
Use the available text formatting tools as needed.
-
-
Click SAVE.
-
-
Once saved, a confirmation message will appear indicating that the Communication Template has been successfully created.

Edit or Delete a Communication Template
-
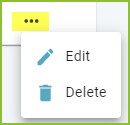
To edit the template, click the More Options button and select Edit.
-
To delete the template, click the More Options button and select Delete.
Still need help? Submit a support request and our team will get back to you.